I’m not a budding photographer. I do have a digital camera and an i-phone, but I rarely remember to take my camera out and tend to rely on my i-phone. Unfortunately, the camera in the i-phone is inherently crap. The biggest problem is the slow shutter speed, which results in blurry photos.

I don’t want to be looking back at photos of Madame in 20 years and be gutted that they’re all blurry. I would really like to be able to take decent photos with my i-phone but to date I haven’t had a lot of luck. So, I’ve been doing a bit of research and this is what I found…..
How to take decent photos with an i-phone:
- The best tip I found. Every time I tried to take a photo I would press the button, phone would wobble, and I’d end up with a blurry photo. I didn’t realise that it is actually releasing the button that takes the photo. Hold your finger on the button and don’t let go until you are ready to take the photo.
- Play Statues – shout freeze before you take a photo. I-phones can’t cope with movement at all. This is a lot easier said than done with a 3 year old
- Hold the phone horizontally as it is much more stable
- If you can, brace your arm on a table, wall etc. Alternatively, hold your elbows firmly at your sides and take a deep breath.
- Don’t bother taking distance photos as it just won’t cope and you’ll be disappointed
- Ideally, the object you are focussing on should be no more or less than 2-12 feet away from you.
- Bright rainy days are the best. Luckily, this isn’t a problem in the UK
- Try taking photos from unusual angle.
- If you want to take a self portrait use the shiny Apple logo on the back of the photo as a mirror. It will take a couple of goes to work it out.
- Remember that colour is your friend.
- Avoid bright white backgrounds, including the sky. Neutral (natural) backgrounds work a lot better. Too much white freaks it out.
- Take loads of Photos, the beauty of digital photography.
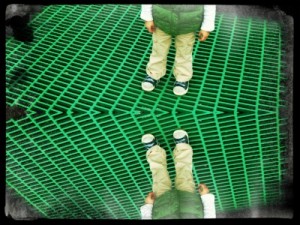
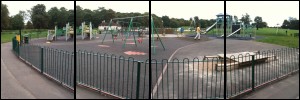
Over the weekend, I tried to apply some of these techniques. The results aren’t brilliant but an obvious improvement.

If all else fails, you can always tart up your photos with these apps.
1.) One of my favourites….Colour Splash. Lets you quickly convert to black and white and then add a splash of colour.

2. Picture Show – loads of weird and whacky things you can do with photos.

3.) Quad Camera – allows you to take continuous shots.

I hope this helped in some way. Do you have any other hints/tips/suggestions? I would be most grateful.


