We made our own Safari Park Chocolates

I can’t believe how easy it is to make your own chocolates.

  1. Have a friend from South Africa post you a chocolate mould
  2. Buy some chocolate from the shop
  3. Melt it in a metal bowl above a pan of bowling water so it doesn’t burn.
  4. Pour into moulds using a measuring cup with a spout
  5. Tap the sides ‘gently’ to get the air out
  6. Put in the fridge for an hour

A special thanks to @chickenruby for the mould.  Madame has requested pink chocolates next so I’m going to use white chocolate with a bit of red food colouring!  Watch this space.

Happy Easter!


Doodle Bread

We were sent a Doodle Bread Making kit to try out.  It’s a very clever product and I think it would be a great gift idea.  We had great fun making it.  Any negative comments are not down to the product but ‘user error’ as I’m a disaster in the kitchen, as you’re all aware.  It all comes neatly laid out for you with very clear instructions.  All you have to do is add a bit of water and oil.  So, I’m not sure how I managed to mess it up!

I’m not very confident in the kitchen, so when I cook I follow recipes word for word and if there is anything missing disaster strikes.  So, I followed the instructions and whacked in 200 ml of water, which resulted in more of a pancake mixture than a ‘soft chewing gum texture’.  So I had to add more flour to get the texture right.  I think this is where it all started to go wrong.  I’d recommend adding a bit of water at a time until you get the right consistency!

Since I’ve never made bread before I didn’t realise that room temperature was important for it too rise.  It’s below zero here today.  I had a slight panic attack because it wasn’t rising. However, thanks to a lovely friend on twitter, I tucked it into the airing cupboard, amongst the sheets and towels, where it is nice and warm and it started to rise.  Phew!

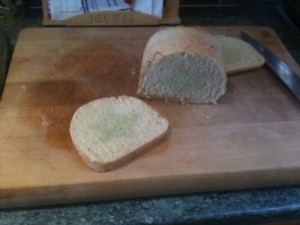
I did oil the Doodle Shaper (star shaped thing) as per instructions but obviously not enough as I had trouble getting it out of the bread before popping it into the oven. Thankfully ‘the beauty of Doodle bread is imperfection as your star may look like a frog or a cloud??’

At one point I was a bit worried as Madame was very excited and kept asking me every 5 minutes if it was ready.  Luckily, it all worked out in the end and we got to enjoy warm fresh home-made bread smeared with a generous amount of butter.  Yum!

All in all I would definitely recommend this product.  But, if you get the opportunity to choose colouring I would go for something with more contrast as we had trouble seeing the star in ours.
Making the Most of Facebook Fanpages

After Reading Emily’s (@MTJAM) guest post over at Blogger.ed about Making the Most of Your Fanpage I set about trying to apply some of the suggestions and to say the least it wasn’t that easy.  Emily suggested, along with a load of other great ideas, to get a Vanity URL for your Fanpage and then to create a ‘Welcome Mat’.   So, I thought I’d summarize for you what I did in the end to save you a lot of headache.

I like many others was guilty of having a very un-dynamic Fanpage with minimal interaction.  I’d set it up to automatically import my blog posts using RSS Graffiti and then left it at that, only popping by every so often.  So, all I had in the end was a wall covered in blog posts, which wasn’t very welcoming to new visitors.

1.) How to change your Facebook Fanpage URL

Once you have 25 ‘likes’ on your page you can change your Fanpage’s URL to something more meaningful. I’ve changed mine to www.facebook.com/mediocremumsfanpage . Do give the name some thought as you can’t change it later.

2.) Creating a landing page with a welcome message

If you’re not familiar with writing HTML code like me, I find Google a godsend for helping with code.  If you want to know how to make text bold; just type in HTML for bold.  If you want to know how to make a Header search for Header HTML, then all you have to do is a bit of copying, pasting and inserting your own text.

After I managed to get a bit of text on my welcome page I got a bit carried away and decided to add a video ‘Introducing my Family’ to my Welcome Page.  In an effort to keep this post shortish, click here to see how I did it in the end.

Thanks again to Emily for all her suggestions, I’ve learned loads.

Photo Credit

I’m Getting Crafty! Monster Cards

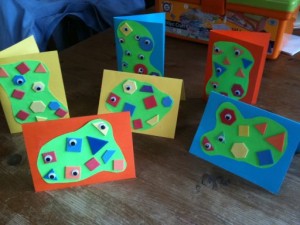
I was kicked up the backside inspired by @redtedart to get crafty.  Joking aside she’s helping me get more Crafty with Madame.  She suggested we make some Thank you Monster cards for her Birthday presents.  As usual, I cheated and used self-adhesive googly eyes and geometric shapes.  It was great fun and dead easy!  What do you think of our efforts?  My only suggestion is to address the envelopes before you put the lumpy bumpy cards in them!

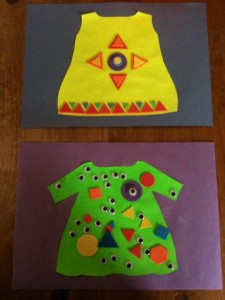
I now have the biggest tub of self-adhesive geometric shapes and could use your suggestions (Crocodiles, Snakes, Whales).  This is all I’ve come up with so far!  Guess which one I made?

Mummy Bloggers Making a Difference!

I have to admit that this post is motivated by the ‘green-eyed monster’ I’m soooo envious that 3 of UK top mummy bloggers get to travel to Bangladesh in September and really make a difference.  This is my little way of trying to help.  Who said the mummy blogging world is bitchy!

Every year almost 9 million children under the age of five die, most of them from preventable things like diarrhoea.  Click here to read more and to add a badge to your own blog in support!  It’s the least you can do!

httpv://www.youtube.com/watch?v=G1QuglxRz-U&feature=player_embedded

And make sure you follow these 3 inspirational ladies.

@porridgebrain

@mummytips

@nixdminx

Ladies, I’m confident you’ve secured a place in heaven!