What’s the first thing you do when you see one of these? If you’re like me you close the page and head back to Google and try again.

This is a really important opportunity for bloggers to gain a new reader, but you only have a few seconds to capture their attention. So why not create a custom Page Not Found (404) and encourage them to stick around.
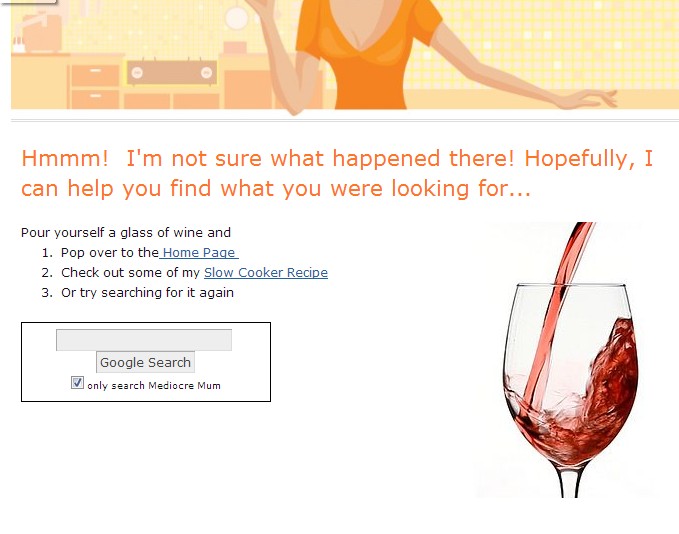
Recently, I went to an SEO Academy organised by The Tots 100 and led by David from Distilled UK. We spoke about 404 error pages. They won’t hurt your site, but can affect your bounce rate (e.g. how quickly people leave). 404s can happen if you delete or move content around or if someone else incorrectly links to your blog. If it’s an error on your behalf then you can always try and fix it. If it’s an incoming link from another website/blog you can contact their webmaster and ask them to update the link or you can redirect them to your custom 404 page. I will go into redirecting in more detail in another post as this is going to be a long one.
How to find the error pages
To find a list of your 404 errors, you will need to log into your Google Webmaster Tools > Your Blog>Health>Crawl Errors>
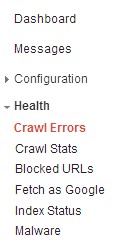
Click on the Not found Errors
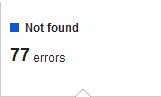
A list will appear at the bottom of the page. Click on one of the links>Then linked from and it will show you where the link is coming from.

How to Create The Customised 404 Error Page
I followed the following tutorial from Deborah Ager. It was incredibly useful and this is where you should start as well. However, there is a few things you should note.
- The plugin she refers to is no longer called Thesis Open Hook but is now Open Hook by Rick Beckman if you have trouble finding it. I did!
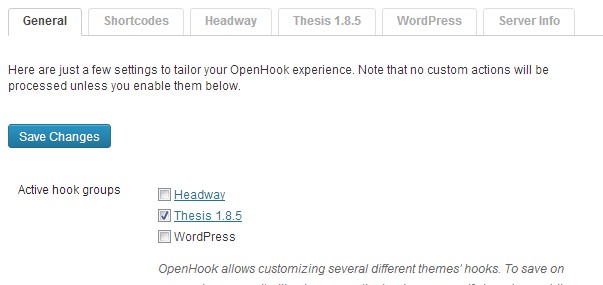
- As the plug in has been updated, so have a few of the screens. Below are screen shots of exactly how I set mine out.
a.) On the general tab select thesis
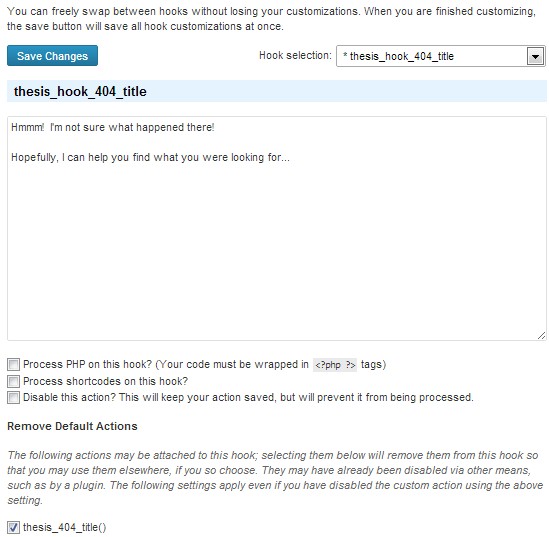
b.) Select thesis_hook_404_title from the drop down box
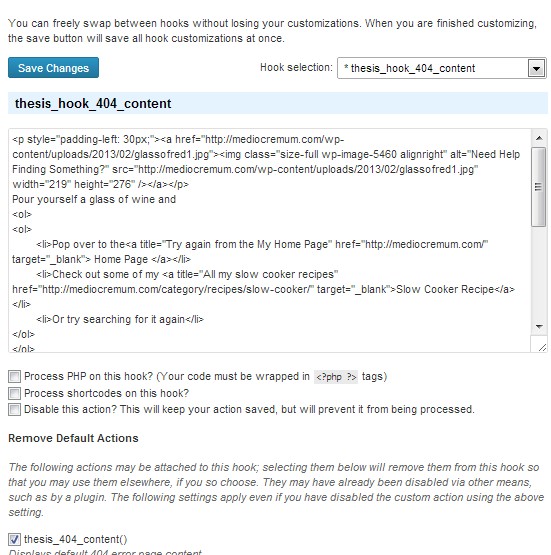
c.) Select thesis_hook_404_content from the drop down box
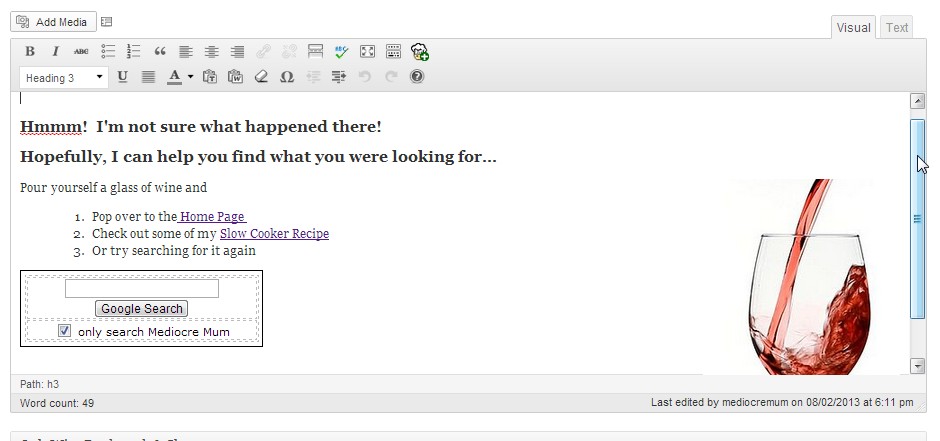
3.) Lastly, do not freak out if you can’t write code. Neither can I, but I can copy and paste. Always remember that you can use wordpress to set up your page, just like you’d normally set out a blog post in the normal Visual Tab adding text and images, aligning, formatting etc. Just remember to save as a draft and not publish it.
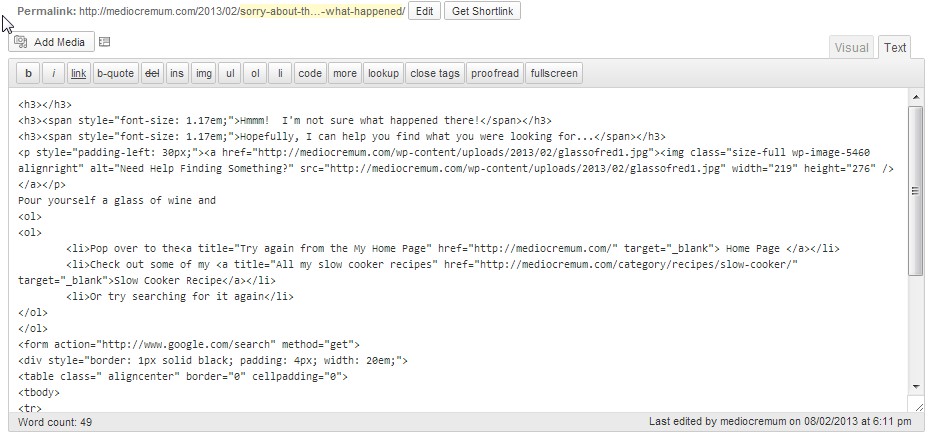
But then remember if you click on the Text Tab you will see all of the code. Again, do not panic, just copy it. Then head back over to the plug in settings and paste.
So how did you get on?? Did it work. Do let me know if I missed anything.
Now it’s time to redirect people to your fancy smancy new error page.
Leave a Reply to Liselotte Cancel reply